Academics
follow us
Feedback

Department of Mechanical Engineering

Mechanical Engineering


About Product Development & Realization Lab


CPDR is a laboratory in the Department of Mechanical Engineering and has vision to grow up to become a center of excellence in product design and realization in the form of rapid and efficient prototyping as well as rapid additive manufacturing of low-volume products with high geometric creativity. The laboratory has always been buzzing with creative activity with several PhD research, Higher Degree dissertation and First Degree thesis and large number of undergraduate project students. One UGC major research project has been completed and it has been supporting to several other funded research projects. The research papers published out of this have been displayed in the notice board of the Lab and more details of the research work are displayed as poster presentations in the Lab. The laboratory has been supporting the pedagogy of several courses including DE G531: Product Design, ME ME/MF F342: Computer Aided Design, ME G611: Computer Aided Analysis and Design, ME G512: Finite Element Methods, ME/MF F241: Machine Design & Drawing and ME F416: Reverse Engineering and Rapid Prototyping. The laboratory has also been providing prototyping services to several faculty members and students in the Department, various departments in the Institute as well as some outside organizations, thus proving to be an indispensable cog in the wheel for innovators. The CPDR has an additive manufacturing machine for rapid prototyping, one surface roughness Profilometer for quality control studies of prototypes, grid marking machine for formability studies and several high end computer aided design and engineering software including LS-DYNA, COMSOL, ANSYS, Matlab and Design Expert. Order has been placed for a set of demonstration.

Laboratory Coordinator: Prof. S P Regalla 
Laboratory Technical Assistant: Mr. B. Suryanarayana 
Location: E-112 

Significant Equipments

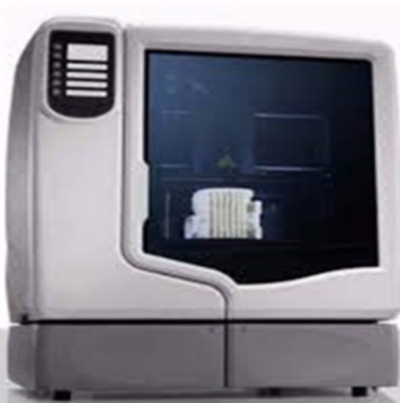
U print 3D Printer
u_print
Technical Specifications:
1. Maximum Build Size:203 x203 x152mm (8 x8x6in)
2. Layer Thickness:.254 mm(.010in)or.330 mm.013in)
3. Network Connectivity :Ethernet TCP/IP 10/100 base T
4. System Size and Weight:76 kg (168 lbs)
5. Material bay:635 (w) x 660 (d) x 787 (h) mm (25x26x31 in)
6. Software: CatalystEX™ software or GrabCAD
7. Power Requirements: 220–240 VAC 50/60Hz,15A
8. Materials: Model Material(ABS P400),Support Material(ABS P430)

Application:
• To develop the digital manufacturing process.
• To study of additive manufacturing process.
• To print the 3D models
• To study the product development and research on different materials.
• To utilize research purpose.

Funded by: Institute
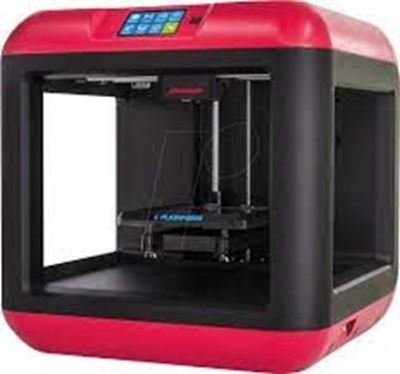
Flashforge 3D Printer
flashforge"
Technical Specifications:
1. Build Volume: 5.5 L in X 5.5 W in X 5.5 H in.
2. Layer Thickness: 100 microns~500 microns.
3. Positioning Precision: 11 microns on X and Y and 2.5 microns on Z.
4. Nozzle Diameter: 0.4 mm.
5. Filament Diameter: 1.75 mm.
6. Printing Technology: FDM (Fused Deposition Modeling)
7. Printing material: PLA only
Application:
• To develop the digital manufacturing process.
• To study of additive manufacturing process.
• To print the 3D models
• To study the product development and research on different materials.
• To utilize research purpose.

Funded by: Institute
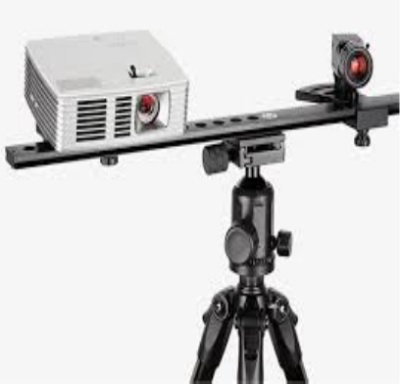
David SLS-2 scanner
davidsls"
Technical Specifications:
1. MPN : DAVID-SLS-2 (DL-SLS-2), Scan Size : 60-500 mm
2. Resolution/ Precision: Up to 0.1% of scan size (down to 0.06 mm)
3. Scanning time: One single scan within a few seconds
4. Mesh density : Up to 1,2000,000 vertices per scan
5. Export formats : OBJ, STL, PLY

Application:
• To develop digital manufacturing process.
• To study of additive manufacturing process.
• To Study reverse engineering process.
• To study the product development and research on various materials.

Funded by: Institute
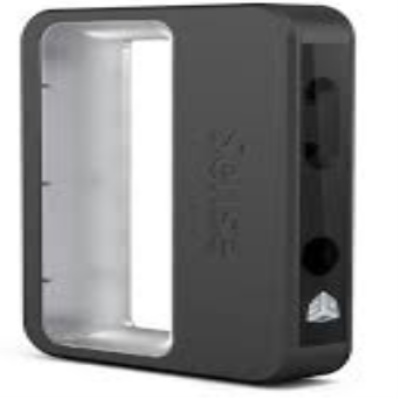
Sense 3D Scanner
sense3d"
Technical Specifications:
1. Scan volume Min:0.2mx0.2mx0.2m, Max:3mx3mx3m
2. Dimensions:5.08(w)x7.08(h)x1.3(d)inches
3. Operating range: Min: 0.35m, Max:3m.
4. Depth image size: 240(w) x 320(h) px.
5. Field of view: Horizontal: 45°, Vertical: 57.5°
.
Application:
• To develop digital manufacturing process.
• To study of additive manufacturing process.
• To Study reverse engineering process.
• To study the product development and research on various materials.
Funded by: Institute
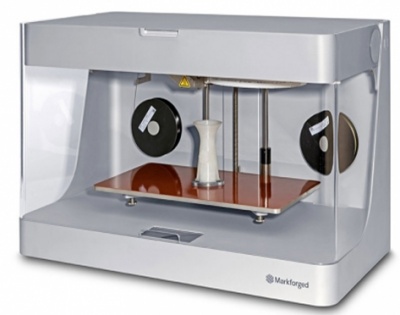
Markforged 3D Printer
markforged"
Technical Specifications:
1. Printing Technology: FDM, CFF
2. Build volume: 320 x 132 x 154 mm (12.6 x 5.2 x 6 in)
3. Print bed: Kinematic coupling — flat to within 160 μm
4. Extrusion: Second-generation extruder, out-of-plastic detection
5. Power: 100–240 VAC, 150 W (2 A peak)
6. Layer height: 100 μm default, 200 μm maximum
7. Infill: Closed-cell infill: Multiple geometries available
Materials:
1. Plastics: Onyx, nylon white
2. Fibers: Carbon fiber, fiberglass, Kevlar®, HSHT fibreglass
3. Tensile strength: 800 MPa (25.8x ABS, 22.2x Onyx)
4. Flex modulus: 51 GPa (24.8x ABS, 14.2x Onyx)
Software:
Software package: Eiger (other options available at additional cost)
Physical Dimensions:
1. Weight: 16 kg (35 lbs)
2. Frame dimensions: 584 x 330 x 355 mm (23 x13 x14in)
Application:
• To study of additive manufacturing process.
• To study the 3D printing of composite materials.
• To print the high temperature materials.
• To research on 3D printing and various materials.
Funded by: Institute
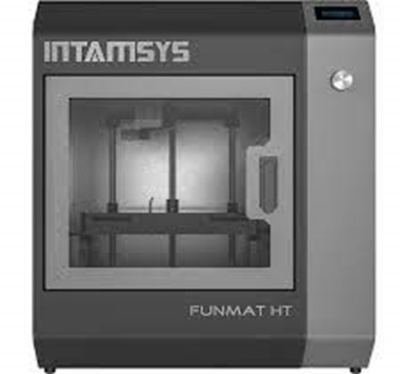
FUNMAT HT 3D Printer
funmat"
Technical Specifications:
1. Model: FUNMAT HT 3D Printer
2. Printing Technology: PEEK, ULTEM, PPSU and thermoplastics.
3. Resolution: 50-micron
4. Bed plate Temperature : 160°C
5. Chamber Temperature : 90°C
6. Extruder Temperature: 450°C
7. Build volume: 260 x 260 x 260 mm
. Application:
• To study of additive manufacturing process.
• To study the 3D printing of composite materials.
• To print the high temperature materials.
• To research on 3D printing and various materials.
Funded by: Project
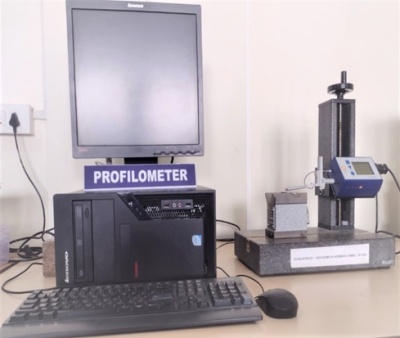
Profilemeter
profilemeter"
Technical Specifications:
1. Parameters: Ra, Rsk, Rt, Rp, Rz1max, RPc, RSm, Rmr and Rda.
2. Length of operation: From 0.25 to 25 mm.
3. Memory to save up to 100 results.
4. Dimensions:127 x85x 60mm.
5. Resolution:0,01μm, Accuracy:2% of measured value.
6. Inductive pickup with diamond stylus of 5 μm radius.
7. Measuring force: 150 mg, Measuring capacity:300 μm
Application:
• To study the rapid asymmetric incremental forming
• Determine the type of machining used for the manufacturing of a surface based on the detected roughness patterns.
• To study the whether a surface of a lubrication element is rough enough to retain oil molecules.
• Predict the performance of braking system components.
• To study the thickness of a film or coating material.
• Determine the level of reflectance of a surface.
• To study the accuracy and overall performance of FDM manufacturing units or CNC machining tools.
• To study the product development and research on various materials.
• To utilize research purpose.
Funded by: UGC major Project.